Declarer Play Planning: Think Before You Touch That Card
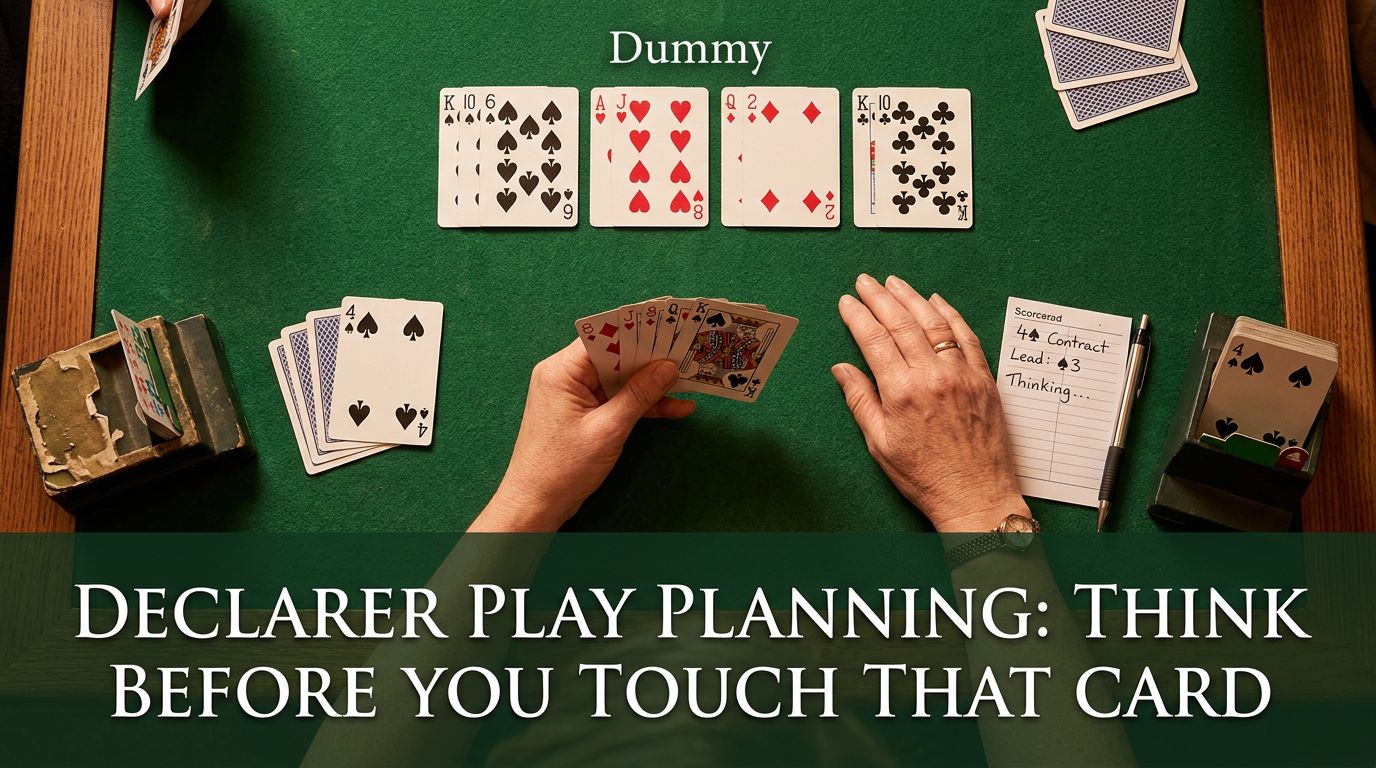
Here’s the most common mistake in bridge: dummy goes down, and declarer immediately plays a card. Don’t do this.
The opening lead hits the table. Dummy spreads their cards. You’ve got maybe 30 seconds where nobody expects you to do anything. Use them. This is when you plan the hand, and planning is the difference between making contracts and going down.
Why Planning Matters
You only get one chance to see all the information at once. After trick one, cards start disappearing. Your view gets cloudier. The time to make decisions is right now, with all thirteen cards staring at you from dummy.
Good declarers pause at trick one. They count something (we’ll get to what in a minute). They spot problems. They figure out which suit to attack first, whether they need to preserve entries, and which opponent they can’t afford to let on lead.
Bad declarers play fast and hope things work out. Sometimes they get lucky. Often they don’t.
Count Your Winners in Notrump
In notrump contracts, count your top tricks. Winners you can take right now without giving up the lead.
You’re in 3NT and dummy hits with:
Dummy: ♠AK3 ♥J54 ♦Q62 ♣9843
You: ♠Q72 ♥AK3 ♦AK73 ♣AJ5
Count: three spades, two hearts, two diamonds, one club. That’s eight. You need nine.
Where’s number nine coming from? Probably diamonds if they split 3-2. Maybe clubs if you guess the king. This tells you what to do: win the opening lead and attack diamonds immediately. Don’t mess around with club finesses until you know whether the simple play works.
The formula is straightforward: count what you have, subtract from what you need, figure out where the extras are coming from. Then go get them.
Count Your Losers in Suit Contracts
Switch approaches when you have a trump suit. Don’t count winners. Count losers.
Look at your hand and dummy. How many tricks can the opponents cash? If you’re in 4♥ and you can count two spades, one diamond, and one club that are going to lose, you’re fine. That’s three losers, and you can afford three in a game contract.
Got five losers? Now you need a plan to get rid of two. Can you ruff something in dummy? Discard losers on dummy’s long suit? Set up a side suit? This is what you figure out at trick one.
The difference between notrump and suits comes down to this: in notrump, you’re racing to take nine tricks before they take five. In a suit contract, you’re trying to limit damage because you control the tempo with trumps.
The Danger Hand
One opponent is dangerous. The other isn’t.
The dangerous opponent is the one who can hurt you if they get on lead. Maybe they’re sitting over your king. Maybe they have a long suit to run. Maybe they’re the only one who can give their partner a ruff.
Your plan needs to keep the danger hand off lead.
Classic situation: you’re in 3NT, and the opening leader has a long spade suit. Their partner (who hasn’t led spades) is safe. You can let them win tricks all day. But if the opening leader gets in again, they’re cashing four spades and you’re going down.
So you attack suits where the safe hand might win the trick. You take finesses that lose to the safe opponent. You avoid finesses that lose to the danger hand. Every play gets filtered through this question: who can I afford to lose to?
Sometimes both opponents are dangerous. Then you’re in trouble and you need to find a way to run tricks without giving up the lead at all. But usually one is safe, and that’s a tool you can use.
Planning at Trick One
The opening lead comes. Dummy goes down. Here’s your checklist:
First: Count. Winners if notrump, losers if suits.
Second: Spot the danger hand.
Third: Identify which suit needs work. What’s your source of extra tricks? Where are the potential problems?
Fourth: Count entries to dummy. Can you get back and forth when you need to?
Fifth: Decide on the first move. Not the whole plan (things will change), but what you’re doing at trick two.
Let’s see it in action.
Example Hand 1: Notrump Planning
You’re South in 3NT. West leads the ♠5.
Dummy (North): ♠J3 ♥Q74 ♦AKJ65 ♣984
You (South): ♠AK8 ♥AK6 ♦Q73 ♣AJ53
Pause. Count your tricks.
Two spades, two hearts, five diamonds if they split. That’s nine. You’re home if diamonds behave.
But look closer. You’ve got only one entry to dummy after you cash the ♦AK. If diamonds are 4-1, you need to be in dummy to finesse the third round.
The right play: win the spade, cross to the ♦A, and lead the ♦J. If it’s covered, win the queen and pray diamonds are 3-2. If the jack holds, you’re still in dummy to repeat the finesse if needed.
The wrong play: cashing the ♦AK first. Now when diamonds are 4-1, you can’t get to dummy to finesse. You go down in a cold contract.
Example Hand 2: Counting Losers
You’re South in 4♥. West leads the ♣K.
Dummy (North): ♠A74 ♥K83 ♦J654 ♣A32
You (South): ♠K6 ♥AQJ965 ♦A72 ♣65
Count losers: one club (they’re cashing the king), three potential diamond losers. That’s four. Too many.
You need to get rid of a diamond loser. How? Ruff one in dummy? Can’t do it. You don’t have enough trumps or entries. Discard on a long suit? Dummy doesn’t have one.
Your only chance: the ♠Q is onside. If you can finesse spades twice, you set up the ♠K for a diamond discard.
Plan: win the ♣A, draw trumps (can’t let them ruff your spades), then finesse spades. If it works, throw a diamond on the third spade and make your contract.
This hand fails if the ♠Q is offside. That’s life. But at least you gave yourself a chance.
When to Draw Trumps
“Get the kids off the street” is the old saying. Draw trumps early and often.
Except when you shouldn’t.
Draw trumps when you don’t need them for anything else. If your plan is “make my high cards and get out,” pull trumps immediately. Don’t give the opponents chances to ruff.
Delay drawing trumps when you need them. Specifically:
- You need to ruff losers in dummy
- You need to ruff something in your hand to set up a suit
- You need trumps as entries
- You’re planning a dummy reversal
The trap is drawing trumps out of habit when you actually needed them. Let’s see it.
Example Hand 3: Delay Drawing Trumps
You’re South in 4♠. West leads the ♥K.
Dummy (North): ♠K84 ♥65 ♦AK732 ♣A84
You (South): ♠AQJ1095 ♥A84 ♦6 ♣K65
Count losers: two hearts, two clubs. Four losers means you’re going down.
But wait. What if you ruff your third heart in dummy? Then you only have three losers.
So don’t touch trumps yet. Win the ♥A, cash the ♣AK (getting rid of dummy’s clubs so opponents can’t lead one when you give them a heart), give up a heart, ruff your last heart with dummy’s ♠K, then draw trumps.
If you’d drawn trumps first, you’d have gone down. You needed that ruff.
Entry Planning
You can have the prettiest long suit in dummy and it’s worthless if you can’t get there.
Count entries. Both to dummy and to your hand. Figure out when you’ll need them. Preserve them in the right suits.
The classic error: you’ve got a long diamond suit in dummy with only the ♣A as an entry. You need to knock out the ♦A to set up the suit. But you casually win trick one with the ♣A because it was convenient.
Now you’ve got five diamond tricks staring at you from dummy and no way to reach them. Oops.
Better: preserve the ♣A. Win trick one in your hand. Lead diamonds to force out the ace. When you get back in, the ♣A is waiting to carry you to the diamond winners.
Example Hand 4: Entry Management
You’re South in 3NT. West leads the ♠Q.
Dummy (North): ♠K5 ♥732 ♦KJ1097 ♣A54
You (South): ♠A83 ♥AK4 ♦Q5 ♣KQ1082
Count winners: two spades, two hearts, can’t count diamonds yet (need to knock out the ace), three clubs maybe. Not enough.
Your source of tricks is diamonds. Set up that suit and you’ve got nine easy tricks.
But notice: you have exactly two entries to dummy (♠K and ♣A). You’ll need both.
Plan: win the ♠A (not the king, save it), lead the ♦Q. When they duck, overtake with the king and continue diamonds. When the ace appears, you’ve still got the ♠K and ♣A to get back to dummy’s diamonds.
If you’d won the ♠K at trick one and led a diamond to your queen, you’d be stuck. The ♣A isn’t enough entries to both establish and cash the suit.
Common Planning Mistakes
Playing too fast. Slow down. Nobody’s timing you.
Not counting. You can’t make a plan without knowing what you need. Count something every hand.
Ignoring the opening lead. That lead tells you what they’ve got. If they lead a suit, they probably have length. If they lead trumps, they probably don’t want you ruffing. Use the information.
Drawing trumps automatically. Think first. Do you need them?
Forgetting about entries. Dummy’s beautiful five-card suit is useless if you can’t get there. Count entries before you start cashing winners.
Changing plans mid-hand for no reason. You made a plan at trick one for a reason. Don’t abandon it unless new information (like a surprising discard or a revealing play) tells you something changed.
Taking finesses into the danger hand. If one opponent is dangerous and one is safe, steer tricks toward the safe opponent. Don’t blow your contract by finessing the wrong way.
Practice Your Card Play with Brian
Ready to apply these techniques at the table? Brian can walk you through hands that test your card play skills. Try Brian free →
Putting It All Together
Good declarer play isn’t magic. It’s procedure.
Dummy goes down. You pause. You count. You identify problems. You spot your source of tricks. You note entries. You figure out who’s dangerous.
Then you make trick one play with a plan in mind.
Will the plan always work? No. Sometimes the cards aren’t there. Sometimes the suit breaks badly or the finesse loses. That’s bridge.
But you’ll make a lot more contracts when you know what you’re trying to do before you do it.
Stop playing fast. Start planning. Your results will improve immediately.