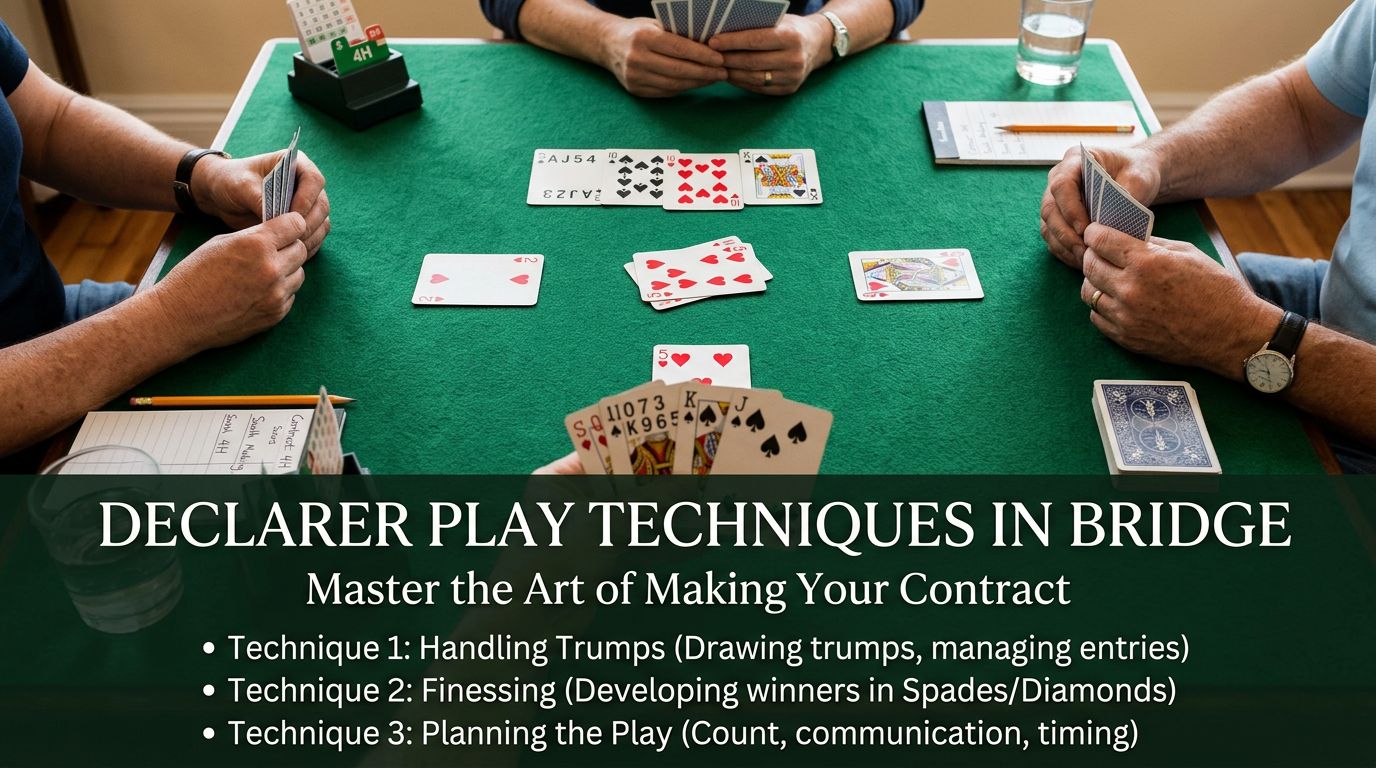
Declarer Play Techniques
Winning the auction is only half the battle in bridge. Once you’ve secured the contract, your success depends entirely on your skills in bridge declarer play. Whether you’re playing 3NT or a tricky slam, understanding fundamental declarer play techniques separates successful players from those who constantly go down in makeable contracts.
This guide covers the essential techniques every declarer needs to master, from the critical planning phase right after the opening lead through to executing complex plays at the table.
Planning the Play: Your First Critical Moments
The moment dummy hits the table, resist the urge to play quickly from dummy. This is your most important thinking time, and rushing here costs more contracts than any other mistake.
Count Your Winners
In notrump contracts, immediately count your sure tricks, the ones you can take without giving up the lead. If you have nine tricks available, fantastic. If you have only seven, you need to identify where the additional tricks will come from.
Let’s say you’re in 3NT and you count:
- ♠️ AK = 2 tricks
- ♥️ AKQ = 3 tricks
- ♦️ A = 1 trick
- ♣️ KQ = 2 tricks (if the ace is with an opponent)
That’s eight tricks assuming the club finesse works. You need one more. Can you establish dummy’s fifth diamond? Do you need to finesse the ♣️ jack? These questions shape your entire plan.
Count Your Losers
In suit contracts, flip the approach. Count your potential losers in each suit. If you’re in 4♥️ and you have five potential losers but can only afford three, you need to eliminate two through ruffing, discarding, or establishing winners in a side suit.
This simple counting exercise determines everything else. You can’t make a sound plan without knowing whether you’re trying to establish tricks, avoid losing tricks, or both.
Examine the Opening Lead
The opening lead provides valuable information. Why did your left-hand opponent choose this particular card? A fourth-best lead in their partner’s suit? An aggressive lead from a short suit? A passive trump lead?
Read the lead for clues about the defensive distribution and high cards. If they led a small heart and dummy has ♥️KJ4, your ♥️A63 in hand means they probably have the queen. Plan accordingly.
Establishing Tricks: Creating Something from Nothing
Most contracts require you to develop additional tricks beyond your immediate winners. Two primary methods exist: establishing long suits and taking finesses.
Long Suit Establishment
Your most reliable source of extra tricks is a long suit. If dummy has ♦️AKJ42 and you have ♦️Q3, you have five diamonds total. If the suit splits 4-4 between opponents (as it will about 33% of the time), you can knock out their diamonds and eventually cash dummy’s small cards as winners.
The key is timing. You usually need to establish your long suit early, while you still have entries to the hand with the long suit and controls in other suits. In 3NT, you might need to give up the lead twice to establish dummy’s diamonds, so make sure you have stoppers in the other suits.
The Finesse: Risk and Reward
Finesses let you win tricks with cards that aren’t the highest outstanding. With ♠️AQ in dummy and a small spade in hand, leading toward dummy gives you a 50% chance of winning a trick with the queen (when West holds the king).
But not all finesses are created equal. A two-way finesse (like ♥️AJ10 in dummy opposite ♥️K98 in hand) offers flexibility—you can finesse either opponent for the queen. Sometimes your planning reveals which opponent is more likely to hold the key card, turning that 50-50 guess into a near certainty.
Avoid taking unnecessary finesses. If you can establish nine tricks in 3NT without risking a finesse, take the sure line. The finesse will be there if you need it, but you can’t unring that bell once you’ve committed.
Entry Management: The Bridge Between Your Hands
The most beautiful distribution in the world means nothing if you can’t access it. Entry management, maintaining transportation between your hand and dummy, is often the difference between making and going down.
Preserving Entries
When you have ♦️AK2 in hand opposite ♦️Q8765 in dummy, and diamonds are your only source of tricks, you need to think carefully. If you carelessly play ♦️AK and then the ♦️2 to dummy’s queen, you’re stuck in dummy with two good diamonds but no way back to your hand to cash them.
Instead, consider the unblock: Cash ♦️A, then lead your ♦️2 to dummy’s ♦️Q, saving your ♦️K as an entry back to hand later. Better yet, if you have a side entry to dummy, cash ♦️AK while using that side entry to get to dummy’s established small cards.
Creating Entries
Sometimes you need to manufacture entries where none existed. The ducking play (covered next) serves this purpose. Overtaking honors can work too: With ♠️KQ in hand and ♠️AJ10 in dummy, you might overtake your ♠️K with dummy’s ♠️A to use the ♠️J10 as entries later.
Think ahead. Before you play to trick one, map out how you’ll travel between hands throughout the contract. Run through the entire play mentally, ensuring you end up in the right hand at the right time.
Hold-Up Plays: Disrupting Defensive Communication
The hold-up play is declarer’s most elegant defensive weapon. When an opponent leads a suit, you sometimes refuse to win your stopper immediately, even though you could.
The Classic Hold-Up
You’re in 3NT, and West leads the ♠️5 (fourth best). Dummy has ♠️74, and you have ♠️AJ2. East plays the ♠️K. You could win the ace, but should you?
If you grab that ace immediately and later need to knock out East’s ♦️A to establish your long diamond suit, East will return a spade. If spades were 5-3, West will run four more spade tricks and defeat your contract.
Instead, duck the first spade (play the ♠️2). East continues with the ♠️Q—duck again. When East plays a third spade, win your ♠️A. Now when you knock out East’s ♦️A, they have no spades left to return. You’ve severed the defensive communication.
When to Hold Up, When to Win
Don’t hold up automatically. If you need to lose the lead to both opponents anyway, holding up does nothing, both defenders will get their chance to cash their suit. Hold up when you need to lose the lead to only one opponent, ideally the one who will be out of the dangerous suit.
Also consider entry positions. If declarer has ♥️AJ10 in dummy and ♥️K32 in hand, holding up the king might allow the defense to switch to a more dangerous suit before you’ve had a chance to finesse.
Ducking Plays: Losing a Trick to Win the War
Ducking, deliberately losing a trick you could win, serves two crucial purposes: preserving entries and rectifying the count for squeeze plays (advanced topic).
The Entry-Preserving Duck
Imagine dummy has ♣️A8765 and you have ♣️42. You need those club tricks, but your only entry to dummy is the ♣️A. If you play ♣️A and then a club, opponents win and you’re stuck with clubs in dummy and no way to reach them.
The solution: Duck the first club entirely. Play a small club from hand, and when West plays low, play dummy’s ♣️2 (or ♣️5). East wins cheaply, but now when you regain the lead, you can play your remaining club to dummy’s ♣️A, and the suit is established with the ace as your entry.
The Obligatory Duck
With ♦️AK432 in dummy opposite ♦️65 in hand, and no outside entries to dummy, you need to duck one round before cashing the ♦️AK. Play a small diamond from both hands on the first round. When you regain the lead, you can cash ♦️AK and then enjoy the small diamonds if the suit splits favorably.
This type of play feels unnatural to beginners, why would you let opponents win a trick you could take? Because you’re investing one trick now to collect three or four tricks later.
Timing Considerations: The Art of Sequencing
Even when you know what plays you need to make, executing them in the right order determines success.
Draw Trumps or Not?
In suit contracts, the default plan is usually to draw trumps first. But not always. If you need to ruff losers in dummy, you must do so before extracting dummy’s trumps. If you need to establish a side suit and dummy is short in that suit, you might need those ruffs as entries.
Similarly, if opponents have a dangerous side suit ready to cash, you might need to establish your tricks before drawing all their trumps, accepting that you’ll lose control of the hand if you wait.
Knock Out the Danger Card Early
When your plan requires forcing out a key high card (like the ♦️A when you need to establish diamonds), usually do it early. Delay gives opponents more chances to find damaging switches or work out the optimal defense.
However, if you need to lose the lead to one specific opponent, timing matters. Use your early plays to discover who has which cards, then knock out the key honor at the exact moment when the “safe” opponent will win it.
Cash Winners While You Can
Before embarking on risky plays, cash your sure winners in side suits. If you’re about to take a finesse that might lose, and you have three top hearts sitting there, cash them first. If the finesse fails and opponents can cash their suit, at least you collected those hearts.
Example Declarer Play Hands
Example 1: The Classic 3NT
You hold: ♠️K3 ♥️A64 ♦️AKJ94 ♣️762 Dummy: ♠️A84 ♥️K52 ♦️632 ♣️AKQ4
Contract: 3NT. Opening lead: ♠️Q
Count winners: 2 spades, 2 hearts, 2 diamonds, 3 clubs = 9 tricks. Perfect! But wait—you need to force out the ♦️Q to get that second diamond trick. Win the ♠️A (preserving your ♠️K as a second stopper), cash ♦️AK, and lead the ♦️J. When it loses to the ♦️Q, you have nine tricks: 2 spades, 2 hearts, 4 diamonds, 3 clubs.
Example 2: Entry Management in 4♥️
You hold: ♠️A2 ♥️KQJ109 ♦️K4 ♣️9832 Dummy: ♠️K43 ♥️A2 ♦️86532 ♣️AK4
Contract: 4♥️. Opening lead: ♣️Q
You have one spade loser, possibly one heart loser (if they’re 4-1), one certain diamond loser, and one club loser. That’s four, one too many. But if diamonds split 3-3, dummy’s fifth diamond becomes a winner for a spade discard.
Win the ♣️A, cash ♥️A, return to hand with ♠️A, draw remaining trumps with ♥️KQJ. Now comes the key play: Duck a diamond completely, losing to their honor. Win the return, cash ♦️K, and ruff a diamond. If they split 3-3, ruff a fourth diamond high, establishing the fifth. Ruff a club to dummy, discard your spade loser on the good diamond. Making four.
Common Declarer Mistakes
Playing Too Quickly from Dummy
This is the number one error. Take your time. The opponents can’t see your hand, they don’t know if you’re thinking or just enjoying the moment. Use that time to make your plan.
Taking Unnecessary Risks
When you have enough tricks for your contract, don’t risk it for overtricks. That risky finesse might be tempting, but going down in a makeable contract for an extra 30 points is poor strategy.
Poor Entry Management
Running out of entries to the long suit, blocking a suit, or getting stuck in the wrong hand at the crucial moment are all symptoms of inadequate planning. Map out your entries before playing to trick two.
Forgetting to Count
Continually recount trumps, track which honors have been played, and monitor the distribution in key suits. The player with perfect recall of all 52 cards has a massive advantage.
Taking the First Finesse Available
Just because you can take a finesse doesn’t mean you should. Sometimes playing for the drop, or developing a different suit, or collecting more information first, is superior.
Wrong Timing
Drawing trumps when you needed to ruff in dummy first. Delaying establishment of your long suit until opponents have knocked out all your stoppers. Taking a finesse before cashing side winners. Sequence matters.
Sharpen Your Strategy with Brian
Want to put these strategic concepts into practice? Brian analyzes your bridge hands and explains the optimal line of play. Try Brian free →
Putting It All Together
Excellent bridge declarer play combines careful planning, solid technique, and flexible thinking. Start every contract by counting, winners in notrump, losers in suits. Identify where your extra tricks will come from or how you’ll dispose of excess losers.
Consider your entries carefully. That beautiful five-card suit in dummy means nothing if you can’t reach it. Use hold-up plays to disrupt defensive communication, ducking plays to preserve entries, and proper timing to maximize your chances.
Most importantly, take your time. Bridge isn’t a race. The best declarers invest their thinking time early, creating a complete plan before committing to a line of play. That discipline, more than any specific technique, is what separates the experts from everyone else.
Master these fundamental declarer play techniques, and watch your success rate soar. Your opponents may defeat you with perfect defense or unlucky breaks, but you’ll never beat yourself with poor technique again.